
I Bought A Film Camera For Long Exposure Street Photography - Part 2
I finished the first (test) roll of film over two afternoons in Manchester City Centre.
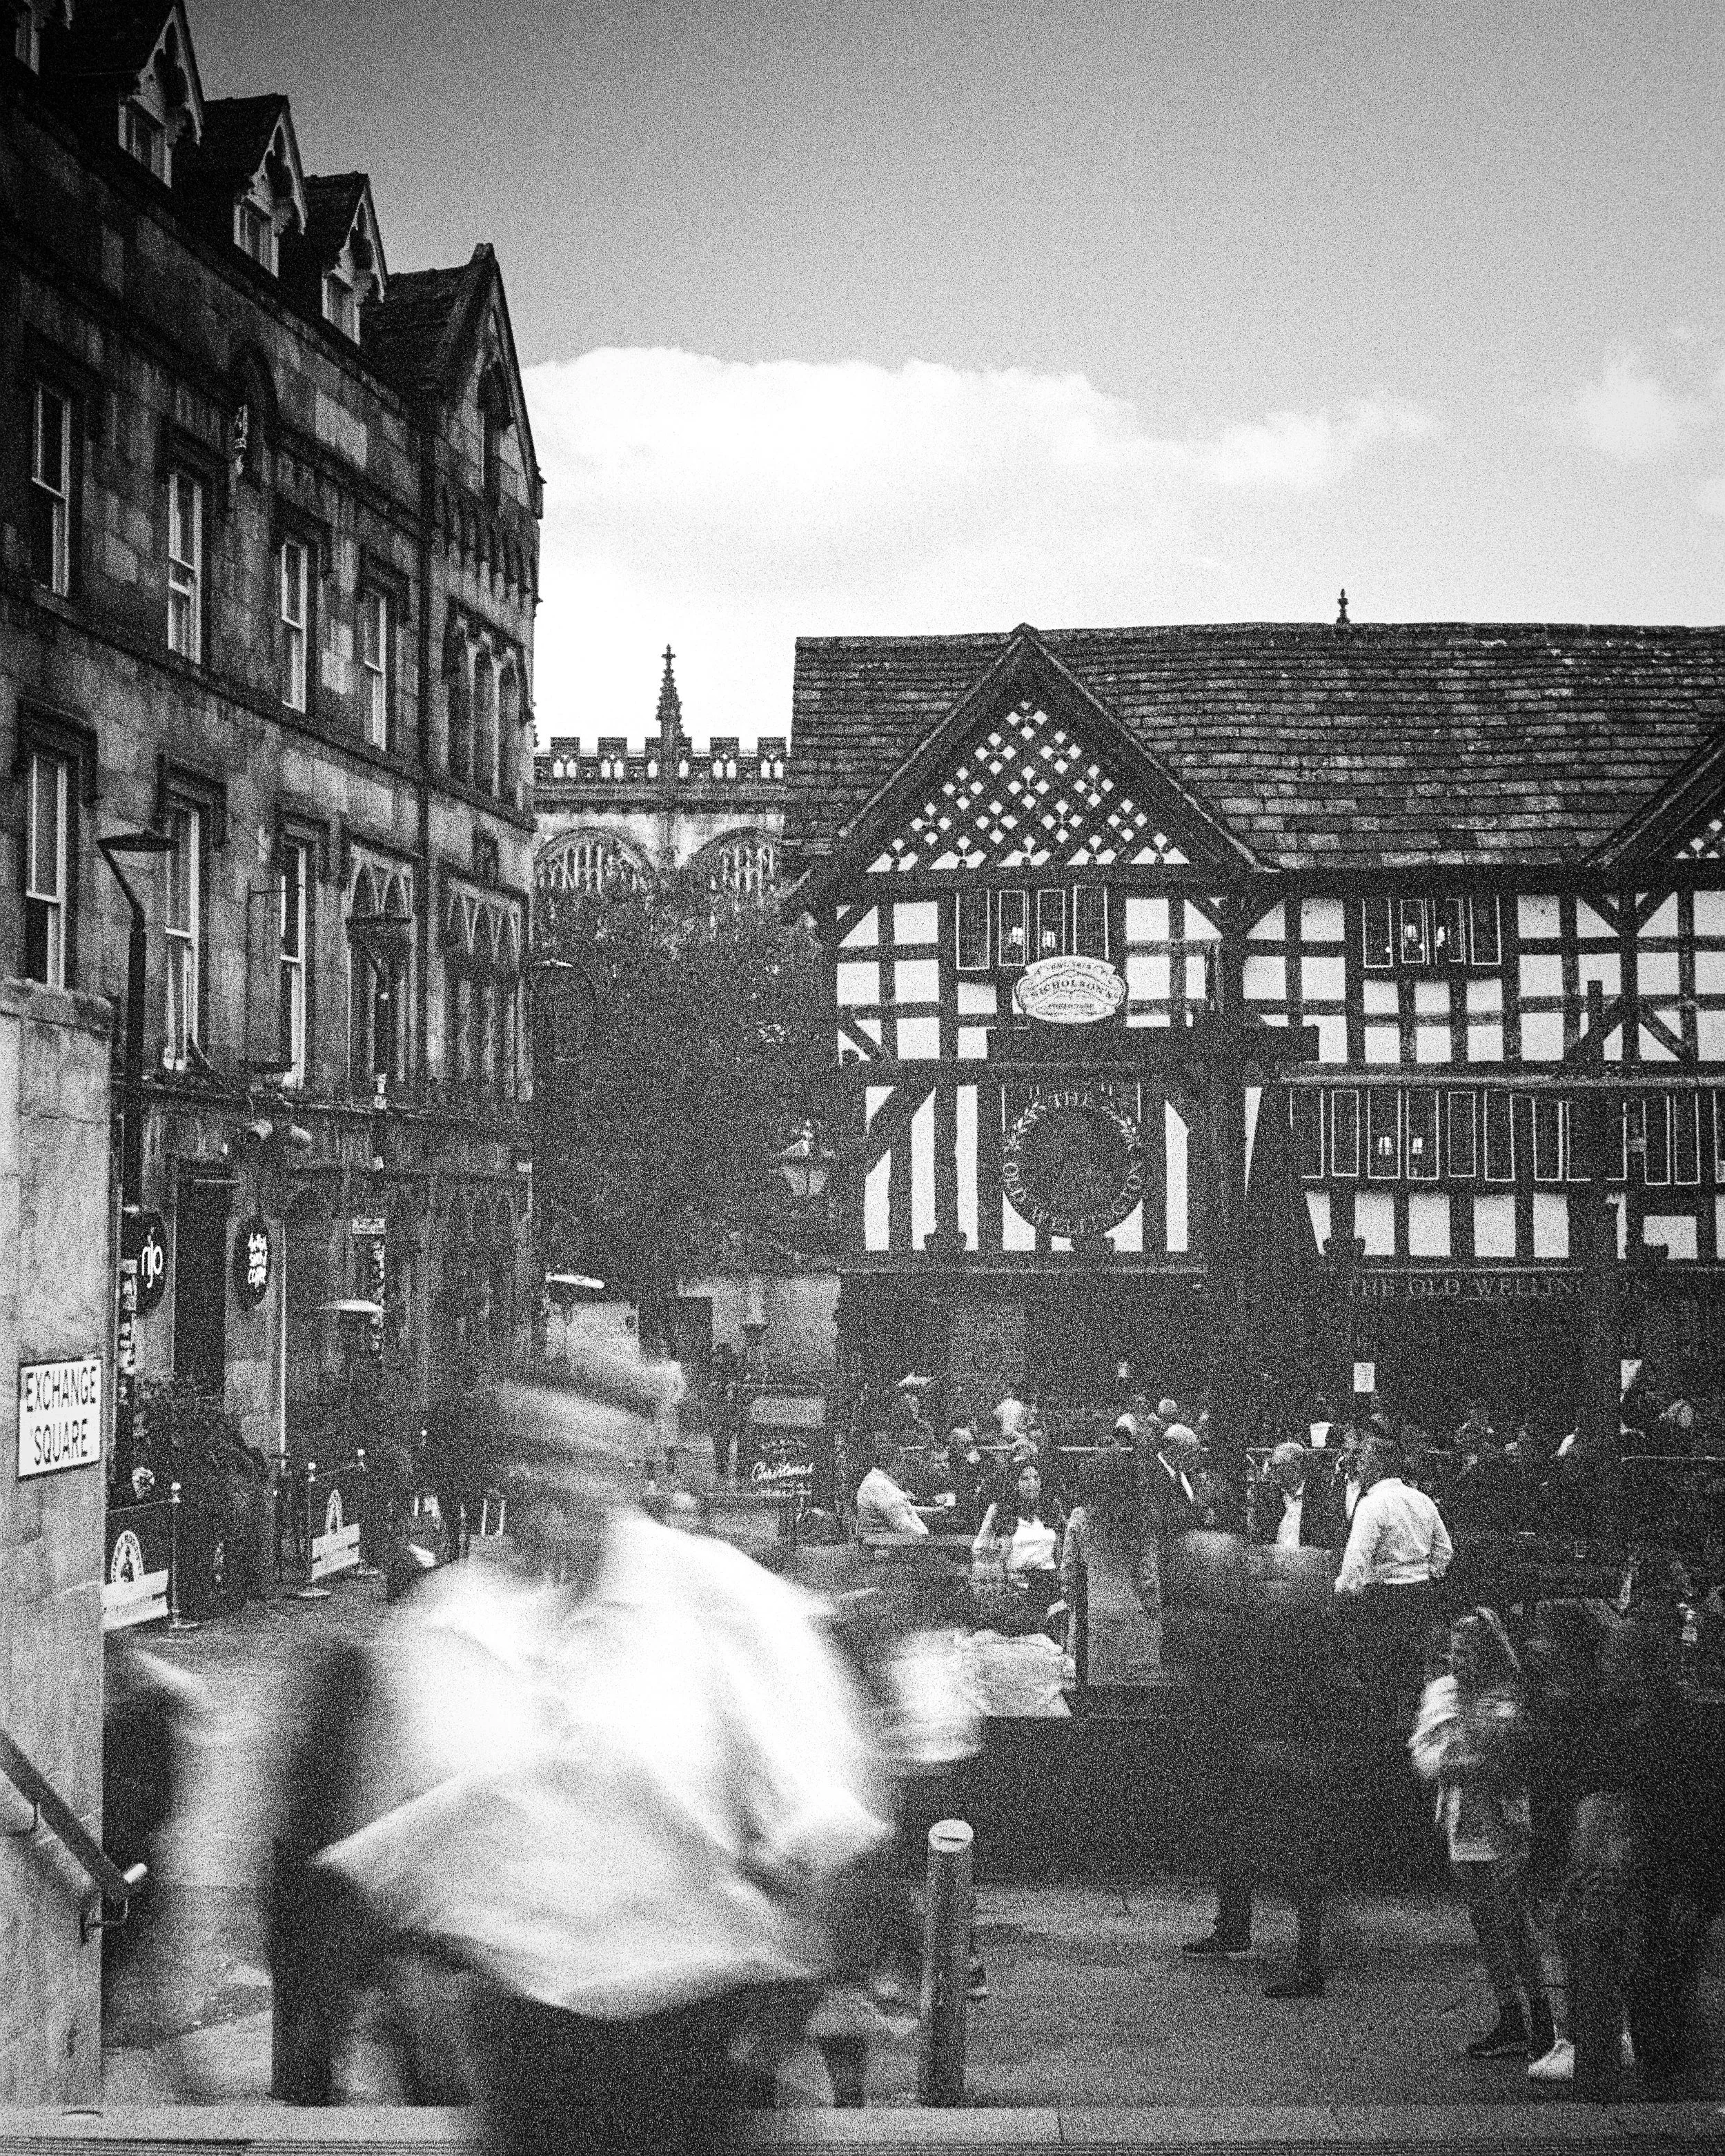
The first shot I saw was a simple reflection shot of Manchester Cathedral, and immediately after taking the shot I wanted to see the picture… I felt silly for even thinking of it considering I was fully aware I was using film. Had I nailed the shot? Was the reflection in focus? Did the composition work?
The feeling soon turned to excitement at the thought of getting the film developed and how soon I could see them. Suddenly I wanted to finish the film and send them off. Clearly I have become way too accustomed to digital camera technology.


Problems
I used the next few images on pretty standard street shots, before testing the camera with longer exposures. That’s when I came across my first and biggest obstacle - a pretty obvious one in hindsight…
Because I attach the camera to a clamp on my wheelchair for long exposures, I couldn't get my head low enough to see inside the viewfinder and check the composition; believe me I tried, which looked about as stupid as you are imagining. A man sliding down in his wheelchair, head cocked and one eye closed, looking like he’s playing a game of drunken limbo in the middle of the street, tends to draw some unwanted attention as a street photographer.
So again, I really do rely on modern technology and that articulated screen on my digital cameras. The most obvious workaround is to use a tripod and set the camera to eye level. It’s certain to attract some attention but it is the best solution, so for roll number two, I’ll reluctantly be lugging a lightweight tripod around.


Problem number two was anticipated, but I figured it was a sensible idea to make sure the camera works properly before buying extras for it.
Using the ten second timer on the camera to avoid ‘shutter shock’ means I'm having to anticipate the action ten seconds before. Although I do quite enjoy the risk associated with this method, I have now bought a shutter release cable from my local camera shop. I can now start the exposure at the exact time the scene in front of me comes together.
Long exposures later in the film came out even worse, pretty much just solid black underexposed images that aren’t worth sharing here. I’m pretty sure the problem was due, at least in part, to the variable ND filter. I shot all my long exposures at 4 seconds, which even on my digital camera would need a strong ND filter to control the exposure. The biggest issue with variable ND filters is when they are set to maximum strength they create X shaped artefacts across the image. I suspect these darker images are the result of that, darker conditions and possibly using the wrong aperture without realising. For the second roll I will try using various exposure times, from 0.3 up to 4 seconds and try to find what works best.


Conclusion
Traipsing the streets of Manchester searching for perfect moments with a fully manual film camera has been one of my favourite afternoons out with any camera. Not having to worry about charging batteries is also a heavily understated advantage when shooting film.
Surprisingly I nailed the focus on all the shots, save for the accidental shutter presses and the shots where I forgot the self timer switch was still on, and overall I am really happy with the results. Below you will find some more of my favourites from the roll.
So what’s next?
The second roll of Ilford HP5 is already in the camera, ready to go, with which I plan to do more long exposures, with the added benefit of a tripod and a shutter release cable. The only ingredient missing is some good weather; something in short supply at the moment. Hopefully the third and final part of this series will come soon and show some successful long exposures on film.


